Trues Toys Trues Toys

How to Repair Broken Toys at Home Easily and Quickly?

Time:2026-06-04 Author:Oliver
0%

When it comes to toys, breakage happens all the time. Children play hard, and toys often suffer the consequences. Many parents wonder, "How to fix broken toys at home?" According to toy repair expert Dr. Emily Carter, “Simple fixes can bring joy back into playtime.” Her passion for repairing toys shows the importance of creativity and resourcefulness in everyday parenting.

Repairing toys at home can be a simple task if you have the right approach. Start by assessing the damage. Is it a small crack or a broken piece? Gather some basic supplies like super glue, tape, or even fabric patches. However, not all repairs will be perfect. Sometimes the toy may not function as it once did, which is a reminder of its history. It’s vital to embrace these imperfections and make the toy unique again.

Engaging in toy repair can also help nurture a positive mindset. It teaches children the value of creativity and problem-solving. Even if the process lacks a flawless outcome, it fosters a sense of achievement. In this guide, you will discover easy and quick methods for fixing toys, turning potential waste into cherished keepsakes. The art of repair lets parents and kids work together, enhancing their relationship through shared experiences.

How to Repair Broken Toys at Home Easily and Quickly?

Assessing the Damage: Identifying What's Broken in Your Toys

When assessing broken toys, it's crucial to identify what exactly is damaged. Look closely at each piece. Check for missing parts, cracks, or worn-out areas. Is the toy still operational? Understanding the extent of damage helps determine if a simple fix or replacement is needed.

Tips: Keep a magnifying glass handy. Small cracks may be hard to see. Also, gather tools like glue, screws, or tape for quick repairs. If a toy has many parts, label them as you disassemble. This simplifies reassembly later, especially for intricate designs.

Don’t forget to consider safety. Some materials may not hold up under stress. Toys that snap back after pressure can be dangerous. Strive for effective, reliable repairs. Reflect on past attempts. Learning from failures improves skills. Observing how different toys break can help in future assessments. Being methodical ensures better outcomes with every repair project.

Essential Tools and Materials for DIY Toy Repairs

When it comes to DIY toy repairs, having the right tools and materials is essential. A sturdy glue, like a strong adhesive or hot glue, is often needed for broken parts. Scissors and a craft knife will help trim any loose edges or excess material for a neat finish. A small screwdriver may also be helpful for toys with screws.

Additionally, consider using fabric patches or felt for plush toys. Sewing materials, such as threads and needles, will allow for more durable repairs. Don’t forget about pliers and clamps. These can hold pieces in place while the glue dries, ensuring a strong bond. It’s okay if your first attempts are not perfect. Learning from mistakes is part of the process.

Gathering everything in one place can help streamline your repair work. Make a checklist to ensure you have all necessary materials. You might find that some tools work better for specific types of toys. Experimenting can enhance your repair skills over time. Stay patient, as each repair project can teach valuable lessons about craftsmanship.

How to Repair Broken Toys at Home Easily and Quickly?

Repair Method Essential Tools Materials Needed Estimated Time (minutes)
Glue for Broken Parts Craft Glue or Epoxy Paper Towels 15
Sewing for Soft Toys Needle and Thread Fabric or Felt 30
Replacing Batteries Screwdriver New Batteries 5
Reassembling Parts Pliers Small Screws or Rivets 20
Plastic Welding Soldering Iron Plastic Pieces (Scraps) 25

Step-by-Step Guide to Fixing Common Toy Issues

Repairing broken toys at home can save money and reduce waste. Many common issues can be fixed with simple tools and materials. Here’s a step-by-step guide to help you tackle these repairs efficiently.

For toys with broken parts, check for missing pieces or cracks. Use glue for small cracks; it usually works well. In instances of more significant breaks, reinforced tape can provide quick support. Test the repaired area before letting kids play with it again.

Tips: Keep a small repair kit with glue, scissors, and tape. This will make repairs quicker. When you notice wear and tear, address it early. Preventing more significant damage can save time later.

For stuffed animals, small holes can be stitched up easily. Use a thread that matches the toy’s color for a neater appearance. If the toy is too worn, consider patching the hole with fabric. Remember, a repair doesn’t have to be perfect; it just needs to be safe.

Tips: Involve children in the repair process. This can be a fun learning experience for them. They might gain a sense of responsibility toward their toys, recognizing the effort it takes to fix things.

Creative Solutions for Unique Toy Repair Challenges

When it comes to toy repair, creativity is key. Many families face unique challenges, especially with elaborate toys. A 2022 report from the Toy Industry Association shows that about 40% of toys get damaged within a year. Understanding how to fix them can save money and keep kids happy.

For instance, soft toys with broken seams can be easily patched. Using a needle and thread, you can reinforce weak areas. Employing a zigzag stitch allows for extra durability. If a toy breaks at the hinge, consider using a hot glue gun. This method provides flexibility and strength to mend the joint. But don’t expect a flawless finish. Imperfections often add character.

Another option is to repurpose broken toys. A survey indicated that 30% of parents have transformed broken toys into planters or decor. This approach sparks imagination and teaches kids about sustainability. However, it requires patience and may not always yield perfect results. Embracing these imperfections can lead to creative solutions that are both functional and unique.

Safety Tips for Repairing Toys at Home

Repairing toys at home can be a fulfilling task, but safety must come first. According to the U.S. Consumer Product Safety Commission, around 240,000 toy-related injuries occur each year. Therefore, before starting any repair, ensure you have the right tools on hand. Prioritize using non-toxic adhesives and materials when fixing toys. While common glues may seem effective, some can be harmful. Always check labels for safety information.

When repairing toys, be aware of small parts. These can create choking hazards. Children aged three and under are especially vulnerable. Use screwdrivers and scissors with caution and keep these away from small children. It’s easy to slip while working, so wear protective gloves if necessary. Additionally, ensure your repair area is clean and organized to avoid accidents.

Know that the process may not always go smoothly. Not all repairs will restore the toy to its original state. Sometimes, homemade fixes can result in a toy becoming a less safe version of itself. If you’re unsure about a repair, consider consulting a professional. Accept that some toys may be beyond repair and reflect on safe disposal methods. Encouraging open conversations about toy safety can help foster a safer play environment for children.

FAQS

: What tools are essential for DIY toy repairs?

: You'll need sturdy glue, scissors, a craft knife, and a small screwdriver.

How can I repair stuffed animals?

Stitch small holes using matching thread. For larger damage, use fabric patches.

Is it okay if my repairs aren't perfect?

Yes, repairs don’t need to be perfect, just safe and functional.

How can I prepare for a toy repair project?

Gather all necessary materials in one place and make a checklist.

What should I do for small cracks in toys?

Use glue for small cracks; it usually holds well.

How can I teach kids about toy repairs?

Involve them in the repair process. It can be a fun learning experience.

What if I notice wear and tear on a toy?

Address it early to prevent more significant damage later.

Can reinforced tape help with larger breaks?

Yes, reinforced tape provides quick support for more significant breaks.

How can I streamline my repair process?

Keep a small repair kit with glue, scissors, and tape readily available.

What if I find some tools work better than others?

Experiment with different tools. You'll discover what works best for specific toys.

Conclusion

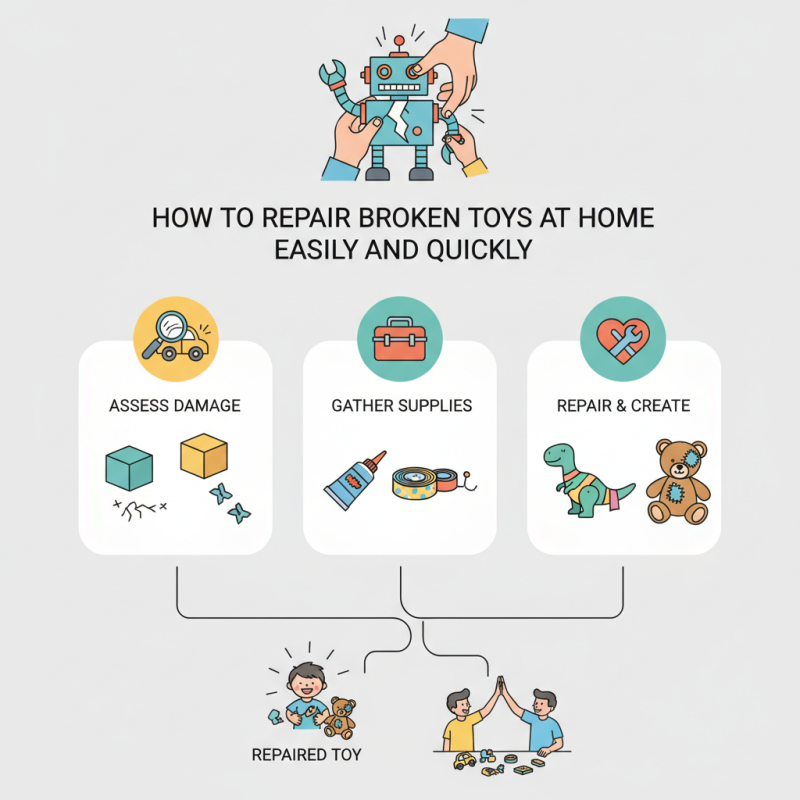
In the article "How to Repair Broken Toys at Home Easily and Quickly," readers are guided through the process of fixing toys with a practical approach. It begins with assessing the damage, enabling you to identify what parts are broken and need attention. The article emphasizes the essential tools and materials needed for DIY toy repairs, making it easier for you to get started on your projects.

A step-by-step guide is provided for common toy issues, ensuring that even those new to repairs can follow along. Additionally, it offers creative solutions for unique repair challenges that may arise, encouraging resourcefulness. Safety tips are also included to ensure that repairs can be carried out safely at home. By following these guidelines, anyone can learn how to fix broken toys at home effectively, extending the life of cherished playthings.

Oliver

Oliver

Oliver is a seasoned marketing professional with a wealth of expertise in driving brand awareness and engagement. With a deep understanding of our company's product offerings, he consistently delivers high-quality content that enriches our professional blog. His insights not only shed light on......